Why A Color Reference Can Help
A fresh coloring page can be exciting, but choosing the first color is not always easy. Your child may know that they want a bright picture without knowing which colors will work well together. You may also want to prepare a simple example before a family activity, classroom project, or quiet coloring session.
The LinePics AI Color Reference Generator turns a black-and-white line drawing into a colored example. It does not replace your child's ideas. Instead, it offers one possible direction for the main subject, background, accents, and smaller details.
You can choose the coloring medium, the amount of color, the palette, and the watermark before generating the reference. Afterward, you can download the image, print a PDF, or use the suggested color codes to find similar markers, colored pencils, or crayons.
Here is the complete workflow.
Step 1: Upload A Clear Line Drawing
Open the LinePics Color Reference Generator and upload the coloring page you want to use. A clean black-and-white image with visible outlines gives the generator a clear structure to follow.
For the easiest setup:
- use a page with one clear main subject;
- make sure the important outlines are visible;
- avoid blurry photos or heavy shadows across the paper;
- crop away unrelated objects around the page when possible.
Once the upload is ready, LinePics shows the image above the coloring controls. This lets you confirm that you selected the correct page before using any credits to generate the reference.
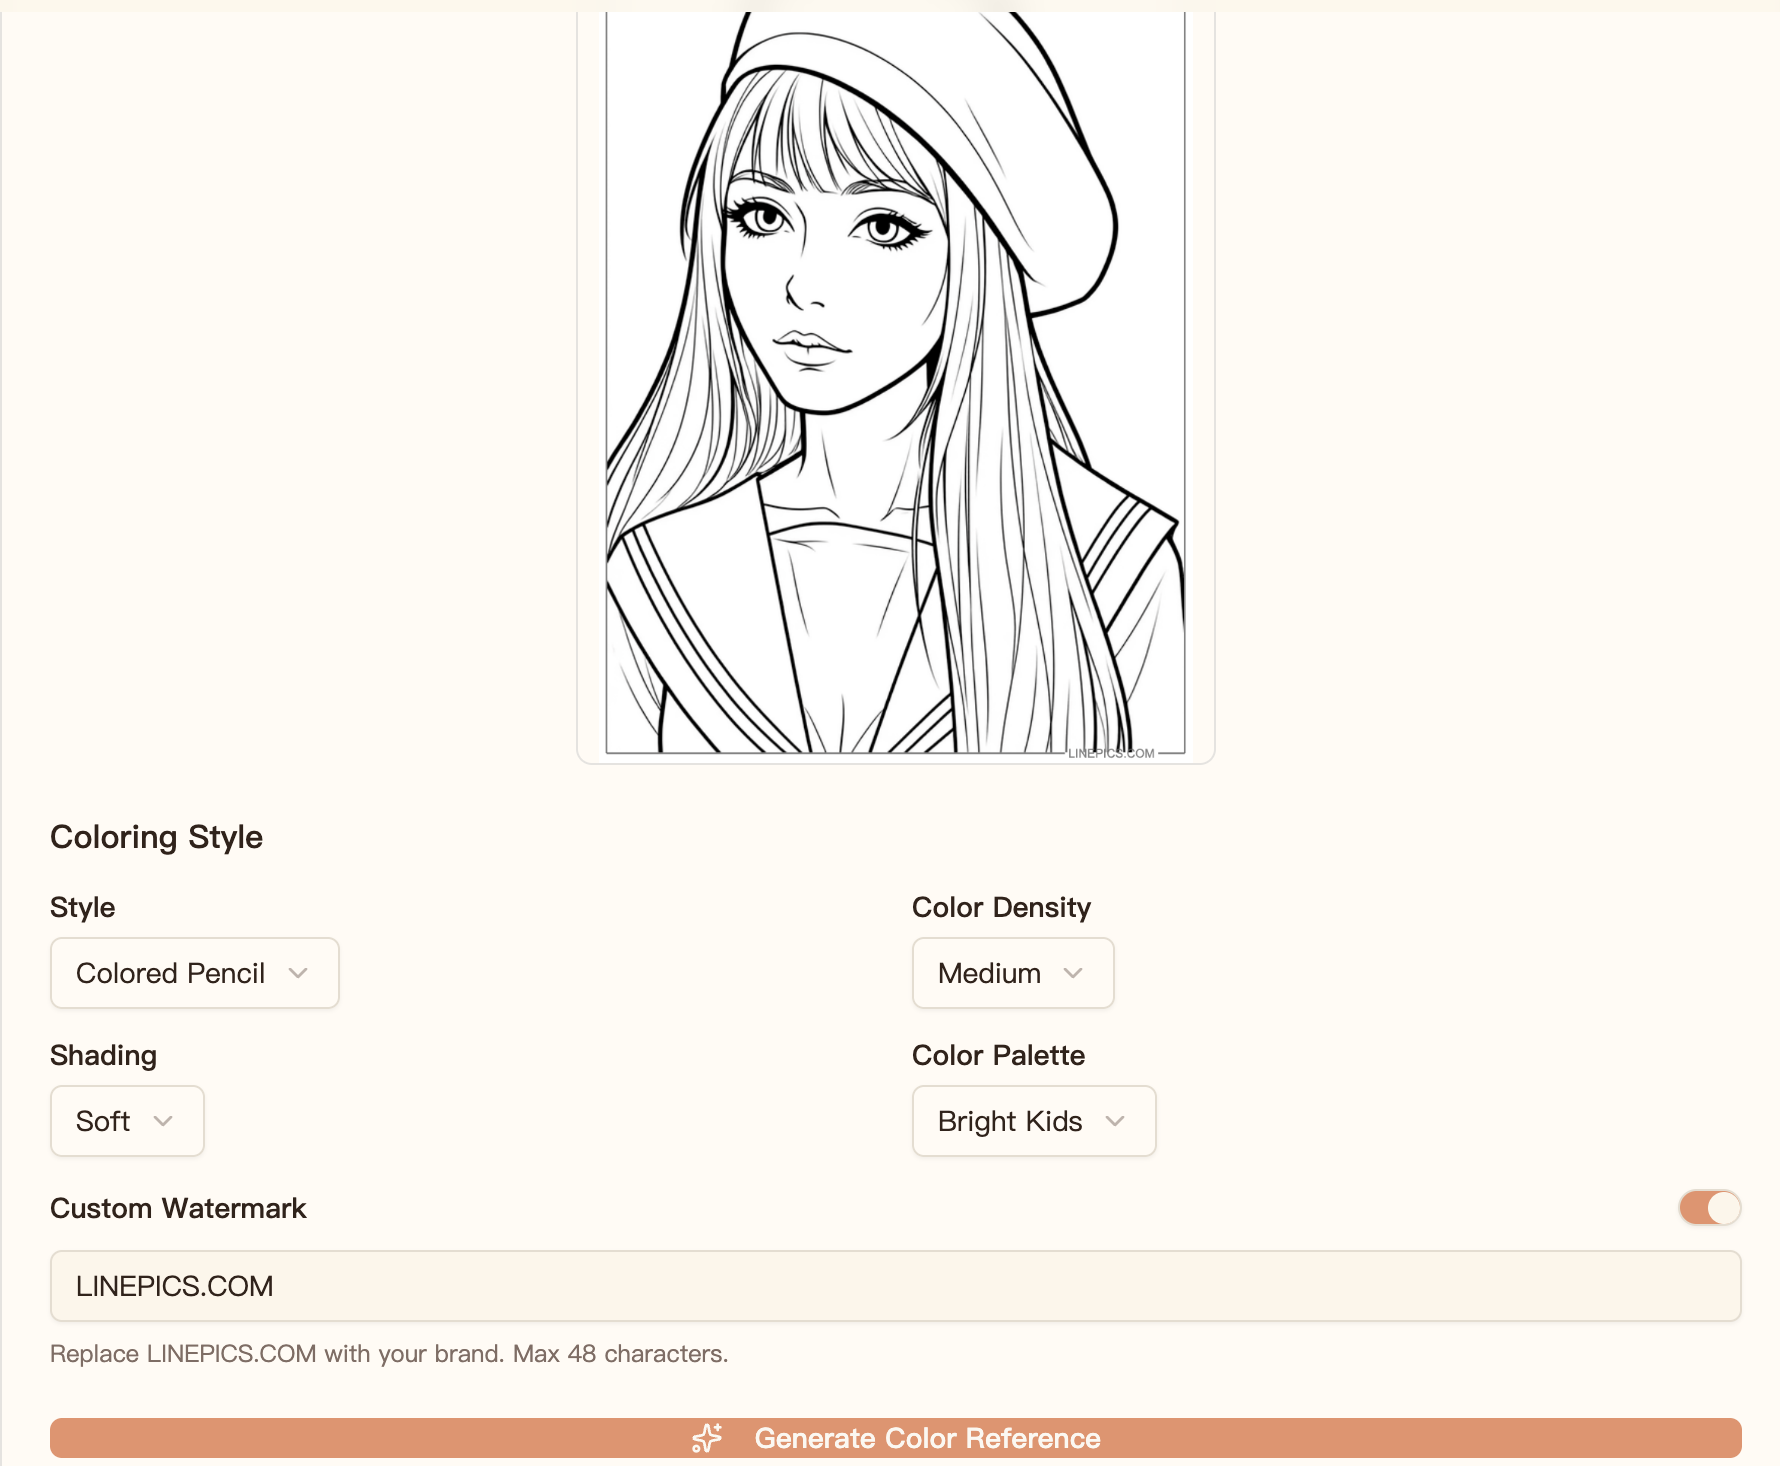
Step 2: Choose A Coloring Style
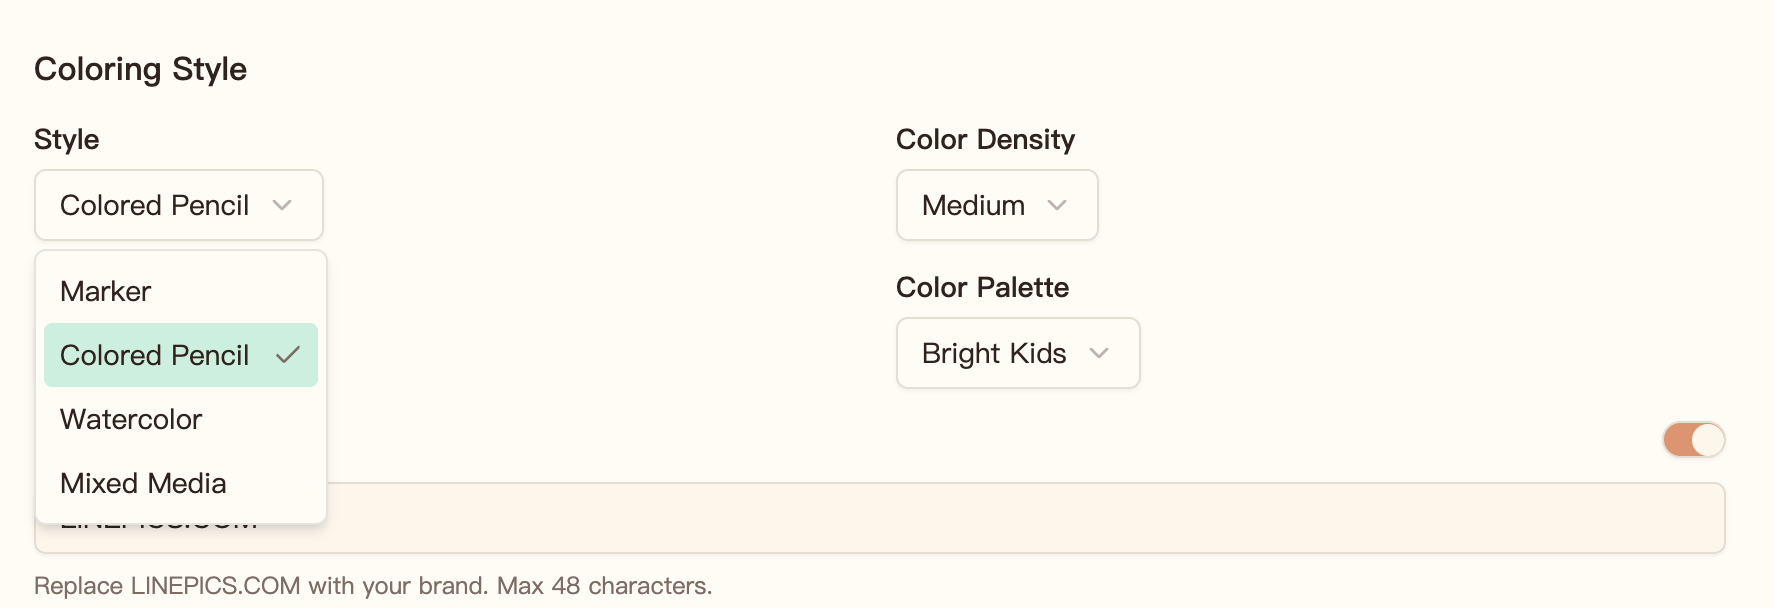
The Style setting controls the overall appearance of the generated color reference. Choose the option that is closest to the supplies your child plans to use:
- Marker creates a stronger, more solid-color direction.
- Colored Pencil gives the reference a softer, textured appearance.
- Watercolor is useful when you want a lighter painted look.
- Mixed Media combines visual characteristics from more than one medium.
Matching the digital style to the real activity can make the reference easier to follow. For example, choose Colored Pencil when your child will use pencils, or Marker when you are preparing a bold marker-coloring activity.
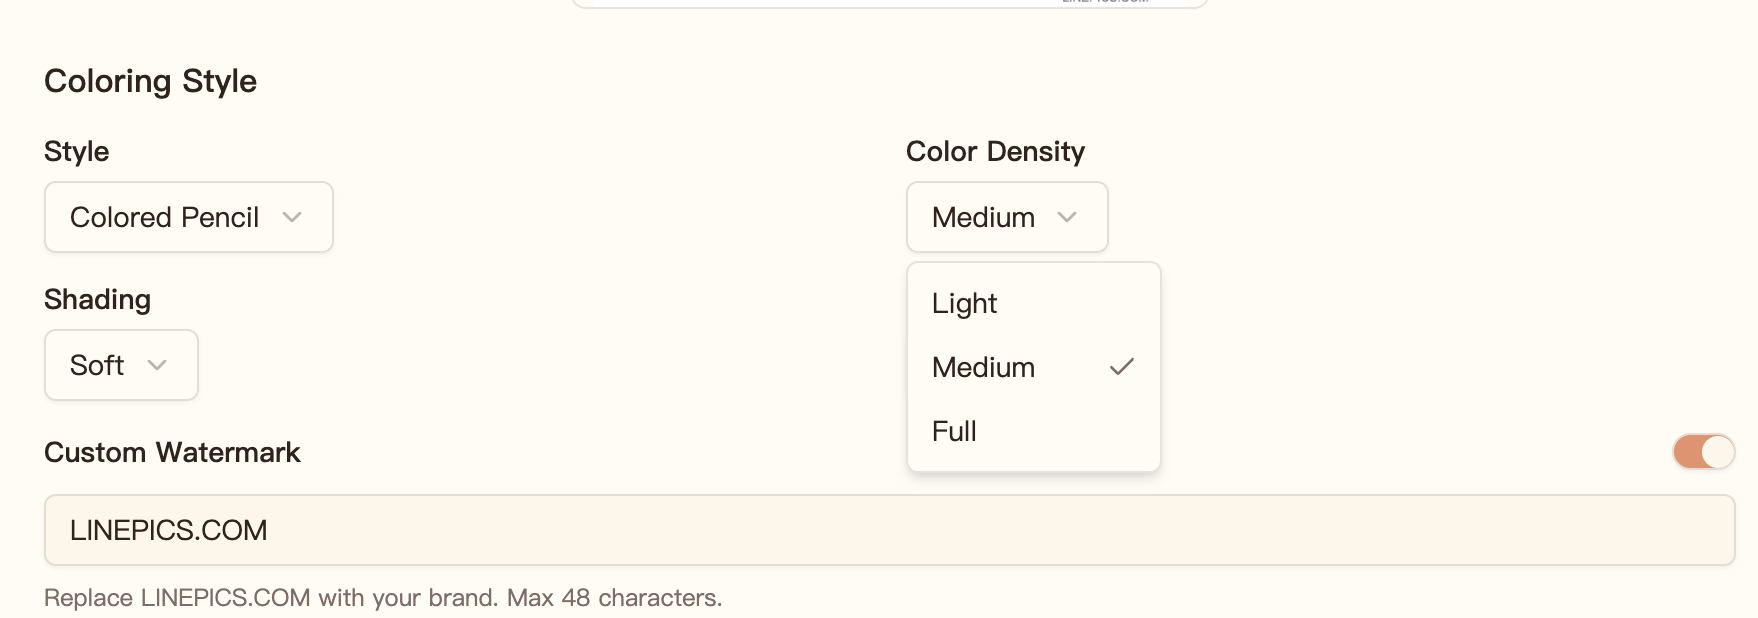
Step 3: Set The Color Density
Next, choose the Color Density. This setting controls how much color is introduced into the reference. It does not change the thickness of the original line art.
- Light leaves more visual breathing room and provides a simpler starting point.
- Medium balances the main colors with supporting details.
- Full creates a more completely colored example.
Medium is a practical first choice when you want enough guidance without making every decision for the child. Light can work well for a child who already has some ideas, while Full is helpful when you want a more complete example to follow.
Step 4: Choose Shading And A Color Palette
The Shading setting affects how much tonal variation appears in the reference. Softer shading keeps the picture approachable and makes it easier to translate the example into ordinary coloring supplies. Your child does not need to reproduce every highlight or shadow exactly.
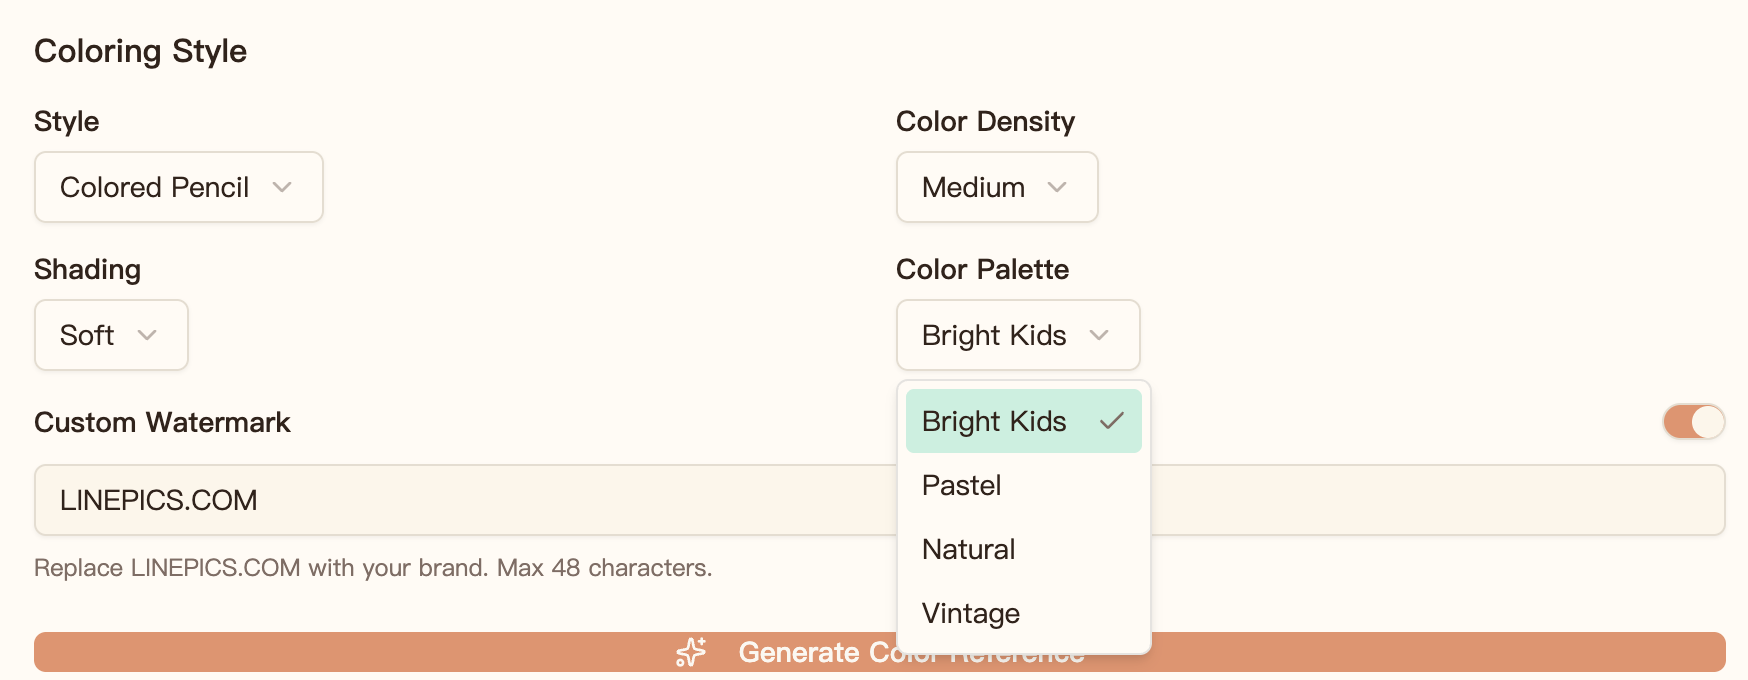
The Color Palette controls the overall color mood:
- Bright Kids uses lively, easy-to-recognize colors.
- Pastel creates a softer and lighter combination.
- Natural uses colors that feel closer to familiar real-world subjects.
- Vintage gives the picture a more muted, classic direction.
Bright Kids is a useful default for a cheerful activity. Pastel may suit a gentler picture, while Natural can help when your child wants familiar colors for animals, plants, clothing, or scenery. Vintage is available when you want a less saturated result.
Step 5: Set Your Watermark
The Custom Watermark option lets you control the small label placed on the generated image.
You can keep LINEPICS.COM, replace it with a short family, class, or project
label, or turn the watermark option off. The field accepts up to 48 characters,
so a short name usually works best.
This setting is useful when you are preparing pages for a class or organized activity, but it does not affect the colors themselves.
Step 6: Generate And Review The Reference
When the settings are ready, select Generate Color Reference. LinePics creates a colored version and displays it beside the original line art.
The side-by-side view makes it easy to review:
- whether the main subject is easy to identify;
- whether the palette fits the activity;
- which areas use the strongest accent colors;
- where lighter or secondary colors appear.
If the first result is not the direction you wanted, use Regenerate to try another interpretation. You can also return to the settings and choose a different style, density, or palette.
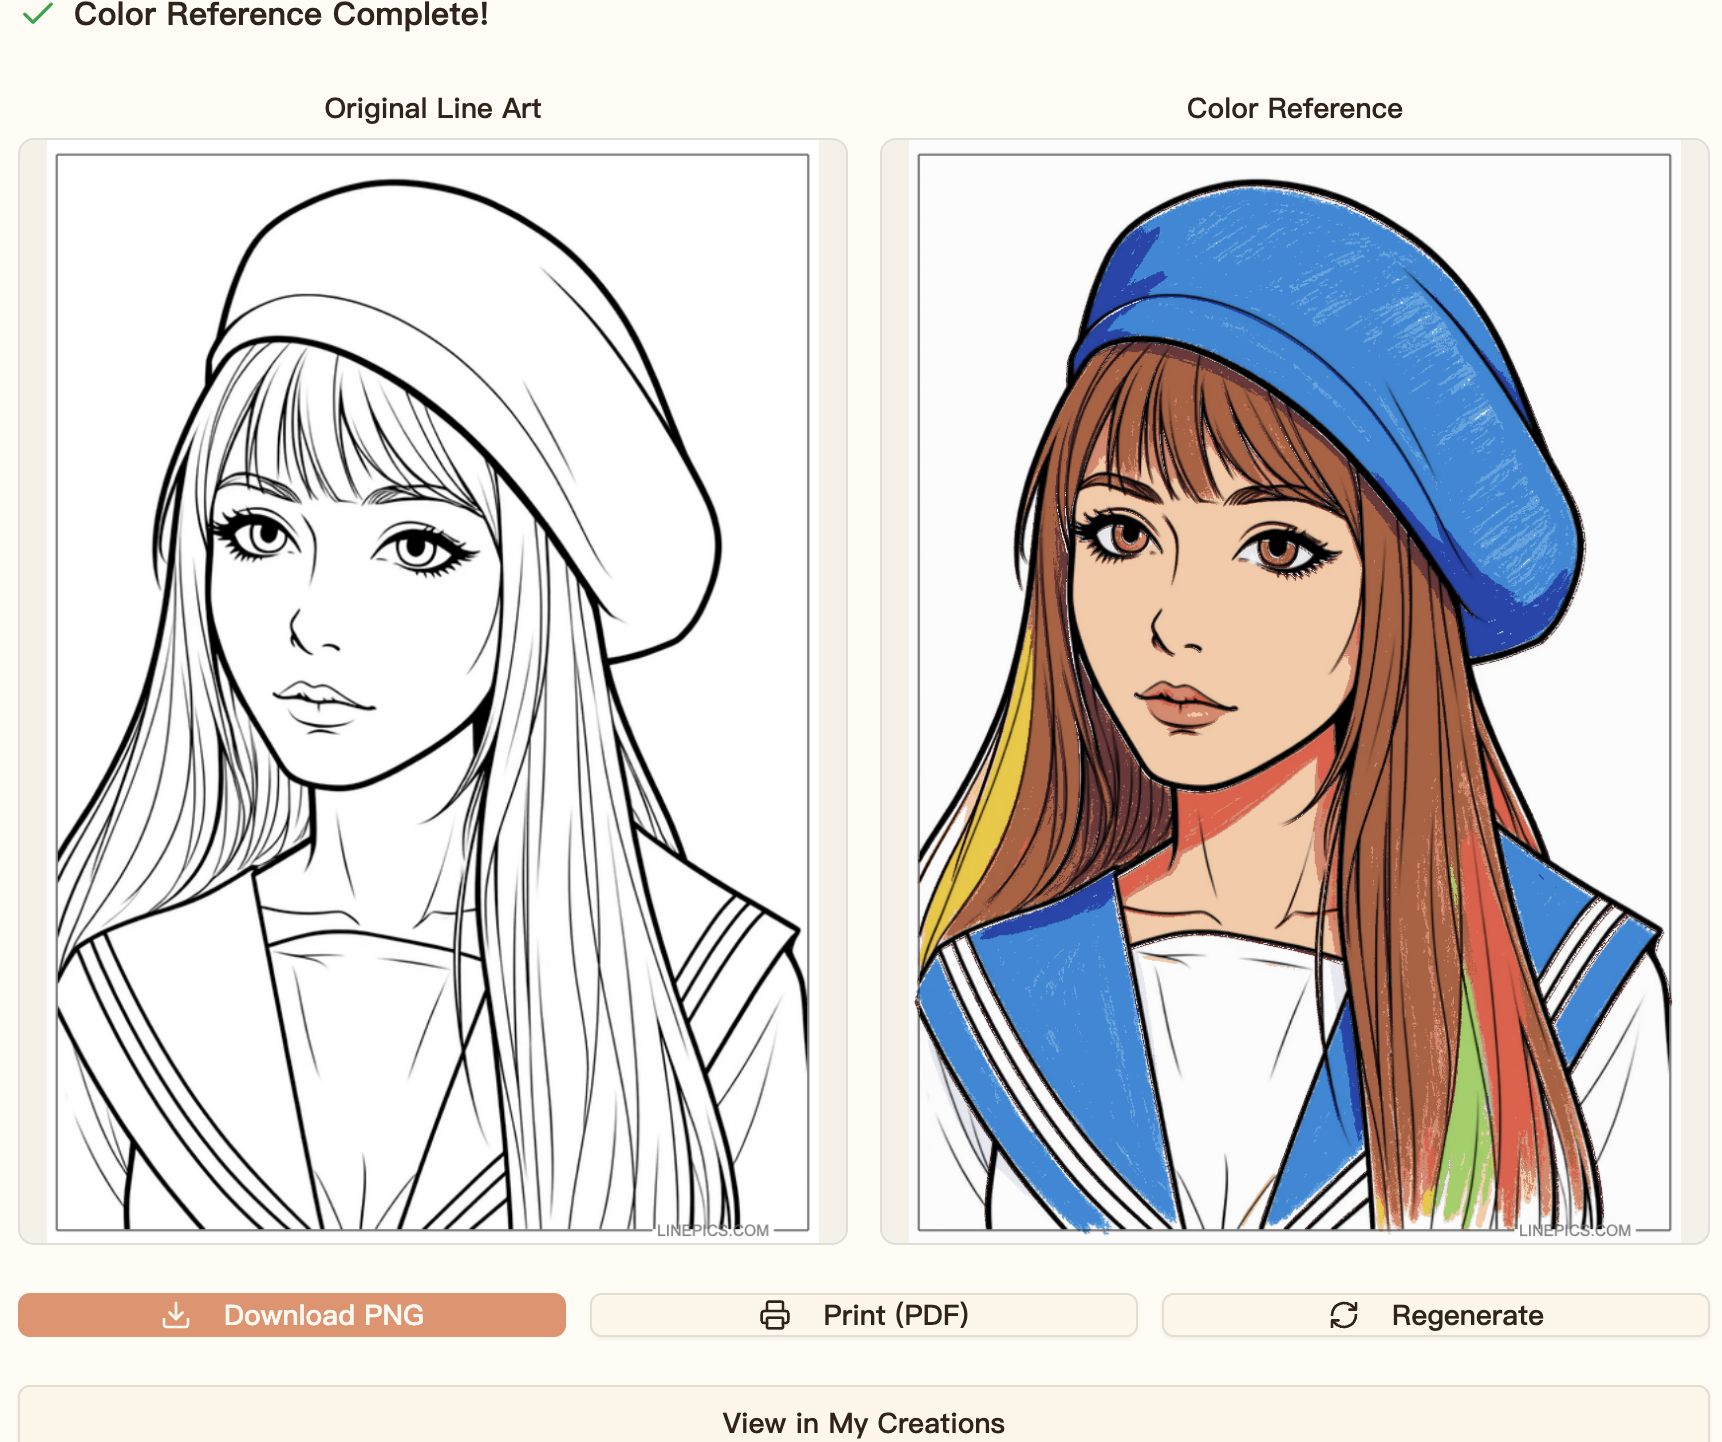
Step 7: Download Or Print The Result
After generation, choose the output that best fits the activity:
- Download PNG saves the color reference as an image. You can keep it open on a phone, tablet, or computer while your child colors the printed line art.
- Print (PDF) prepares a printable version when you want the reference on paper beside the coloring page.
- Regenerate creates another color direction.
- View in My Creations opens the saved result in your LinePics collection.
Using the reference on a separate screen can reduce extra printing. Printing the PDF can be more convenient when several children are sharing the same activity table.
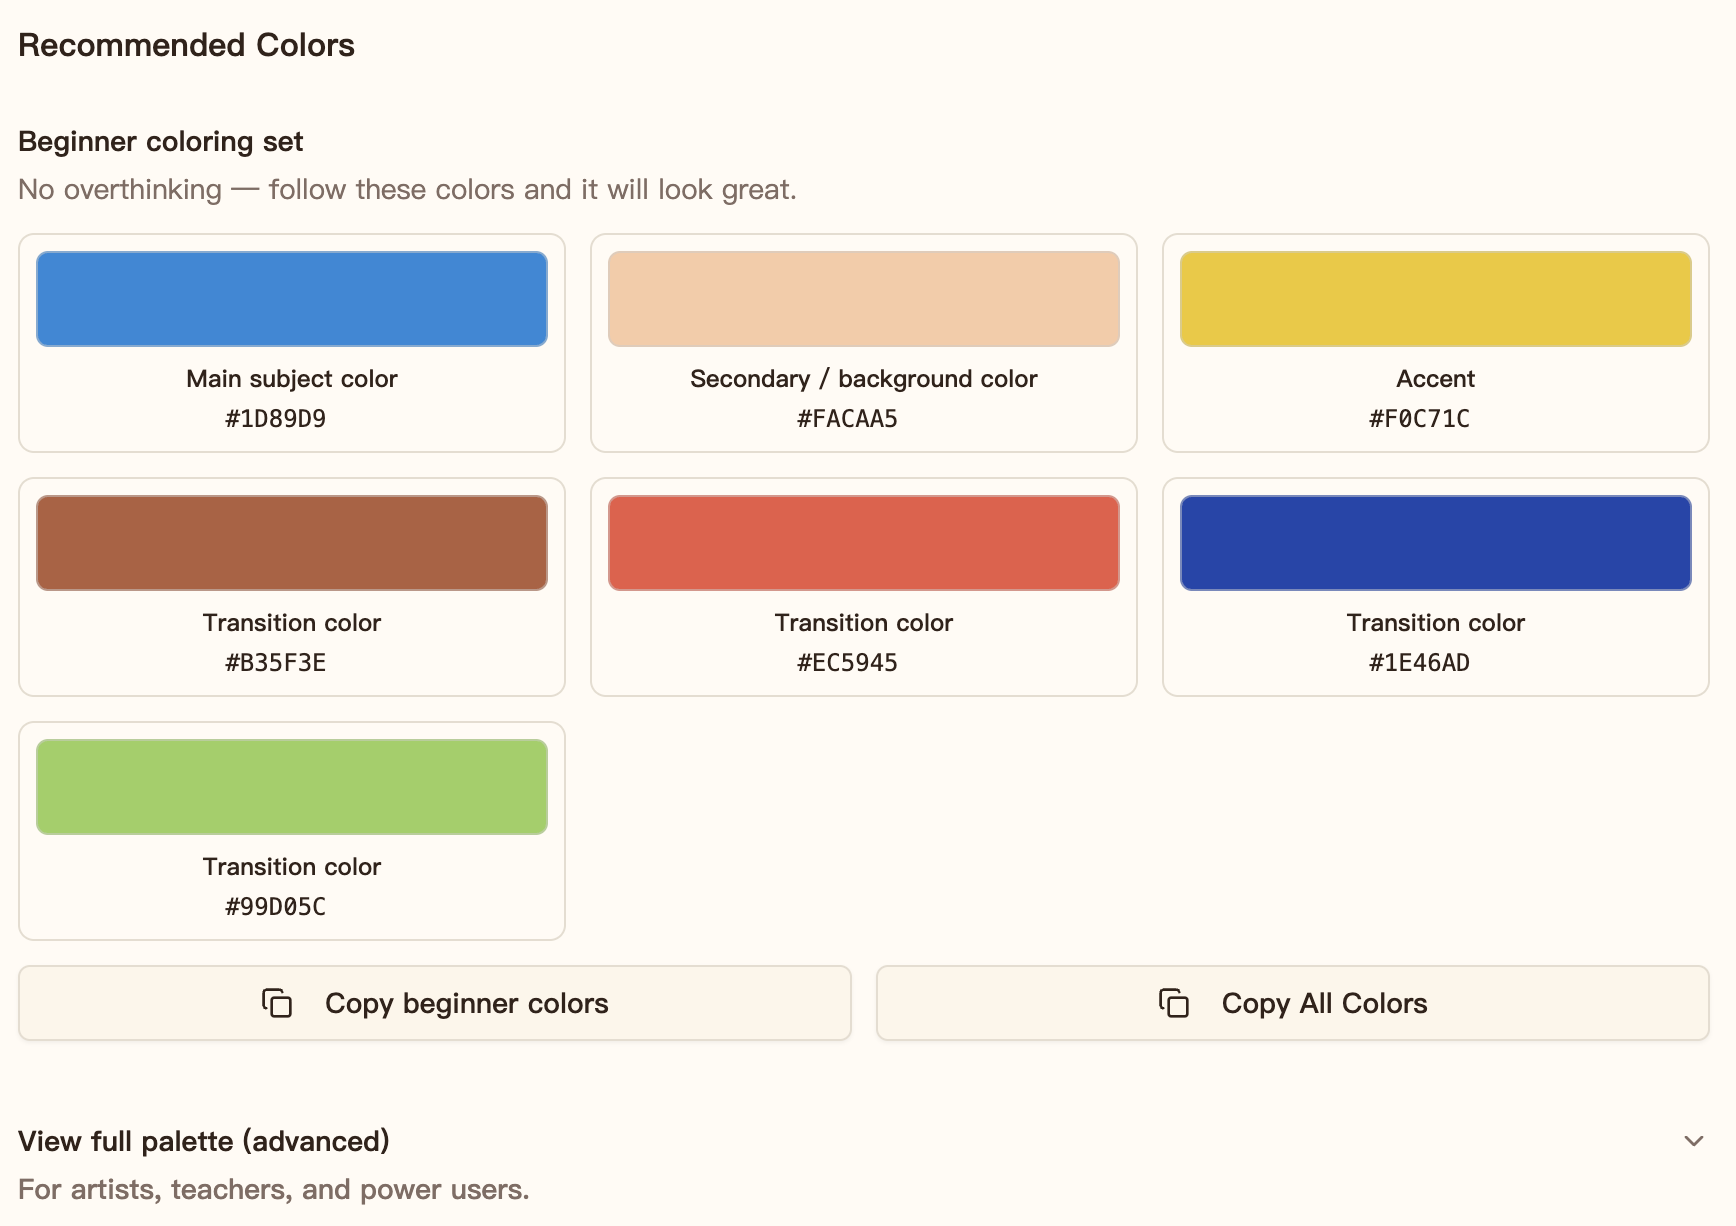
Step 8: Use The Recommended Colors To Choose Supplies
LinePics also extracts a Recommended Colors section from the generated reference. The beginner coloring set highlights a small group of useful colors, including a main subject color, a background or secondary color, an accent, and transition colors.
Each swatch includes a hex code such as #1D89D9. A hex code is a digital color
identifier. You do not need a marker with the exact same number. Use the swatch
and code as a practical comparison when looking through the markers, pencils,
or crayons you already own.
For example:
- Start with the main subject color.
- Find the closest lighter or darker version in your child's supplies.
- Add the accent color for small details.
- Use one or two transition colors where the reference changes between major colors.
The Copy beginner colors option makes it easy to save the smaller starter palette. Parents, teachers, or experienced artists can also open the advanced palette or use Copy All Colors for the complete list.
Let The Reference Guide, Not Limit, The Activity
The finished image is a guide, not a rule sheet. Your child can copy the entire palette, borrow only one or two ideas, replace colors with personal favorites, or invent a completely different version.
For a simple activity, begin with Colored Pencil, Medium Color Density, Soft Shading, and the Bright Kids palette. Generate one reference, choose the closest supplies you already have, and let your child decide how closely they want to follow it.